导读
本文主要介绍如何使用 Python 和 OpenCV实现一个实时曲线道路检测系统。(公众号:OpenCV与AI深度学习)
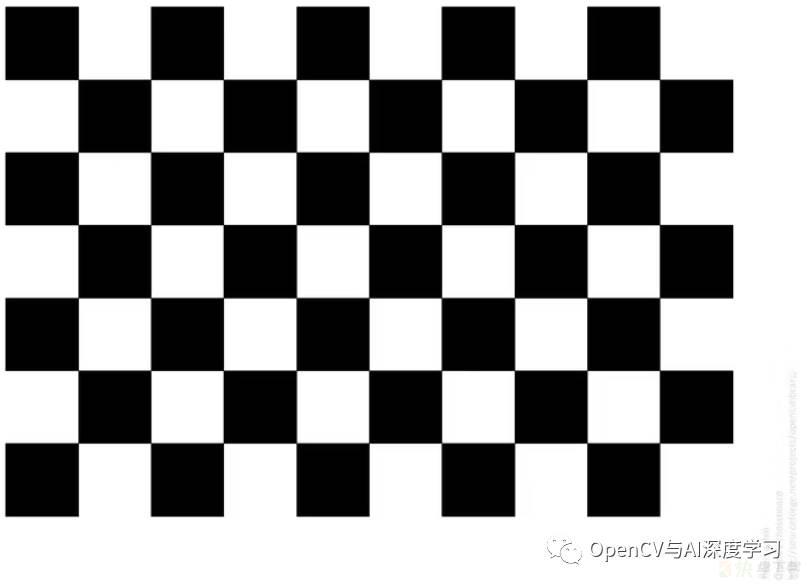
测试视频中使用的相机用于拍摄棋盘格的 20 张照片,用于生成畸变模型。我们首先将图像转换为灰度,然后应用cv2.findChessboardCorners()函数。我们已经知道这个棋盘是一个只有直线的二维对象,所以我们可以对检测到的角应用一些变换来正确对齐它们。用 cv2.CalibrateCamera() 来获取畸变系数和相机矩阵。相机已校准!
然后,您可以使用它cv2.undistort()来矫正其余的输入数据。您可以在下面看到棋盘的原始图像和校正后的图像之间的差异:

实现代码:
def undistort_img():
    # Prepare object points 0,0,0 ... 8,5,0
    obj_pts = np.zeros((6*9,3), np.float32)
    obj_pts[:,:2] = np.mgrid[0:9, 0:6].T.reshape(-1,2)
    # Stores all object points & img points from all images
    objpoints = []
    imgpoints = []
    # Get directory for all calibration images
    images = glob.glob('camera_cal/*.jpg')
    for indx, fname in enumerate(images):
        img = cv2.imread(fname)
        gray = cv2.cvtColor(img, cv2.COLOR_BGR2GRAY)
        ret, corners = cv2.findChessboardCorners(gray, (9,6), None)
        if ret == True:
            objpoints.append(obj_pts)
            imgpoints.append(corners)
    # Test undistortion on img
    img_size = (img.shape[1], img.shape[0])
    # Calibrate camera
    ret, mtx, dist, rvecs, tvecs = cv2.calibrateCamera(objpoints, imgpoints, img_size, None,None)
    dst = cv2.undistort(img, mtx, dist, None, mtx)
    # Save camera calibration for later use
    dist_pickle = {}
    dist_pickle['mtx'] = mtx
    dist_pickle['dist'] = dist
    pickle.dump( dist_pickle, open('camera_cal/cal_pickle.p', 'wb') )
def undistort(img, cal_dir='camera_cal/cal_pickle.p'):
    #cv2.imwrite('camera_cal/test_cal.jpg', dst)
    with open(cal_dir, mode='rb') as f:
        file = pickle.load(f)    mtx = file['mtx']
    dist = file['dist']
    dst = cv2.undistort(img, mtx, dist, None, mtx)
    return dst
undistort_img()
img = cv2.imread('camera_cal/calibration1.jpg')
dst = undistort(img) # Undistorted image
这是应用于道路图像的失真校正。您可能无法注意到细微的差异,但它会对图像处理产生巨大影响。

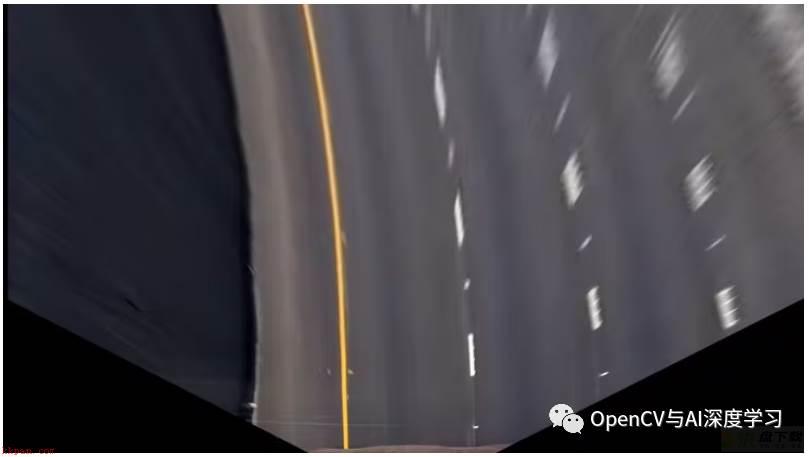
注意到什么了吗?通过假设车道位于平坦的 2D 表面上,我们可以拟合一个多项式,该多项式可以准确地表示车道空间中的车道!这不是很酷吗?
您可以使用cv2.getPerspectiveTransform()函数将这些变换应用于任何图像,以获取变换矩阵,并将cv2.warpPerspective()其应用于图像。下面是代码:
def perspective_warp(img,
                     dst_size=(1280,720),
                     src=np.float32([(0.43,0.65),(0.58,0.65),(0.1,1),(1,1)]),
                     dst=np.float32([(0,0), (1, 0), (0,1), (1,1)])):
    img_size = np.float32([(img.shape[1],img.shape[0])])
    src = src* img_size
    # For destination points, I'm arbitrarily choosing some points to be
    # a nice fit for displaying our warped result
    # again, not exact, but close enough for our purposes
    dst = dst * np.float32(dst_size)
    # Given src and dst points, calculate the perspective transform matrix
    M = cv2.getPerspectiveTransform(src, dst)
    # Warp the image using OpenCV warpPerspective()
    warped = cv2.warpPerspective(img, M, dst_size)
return warped 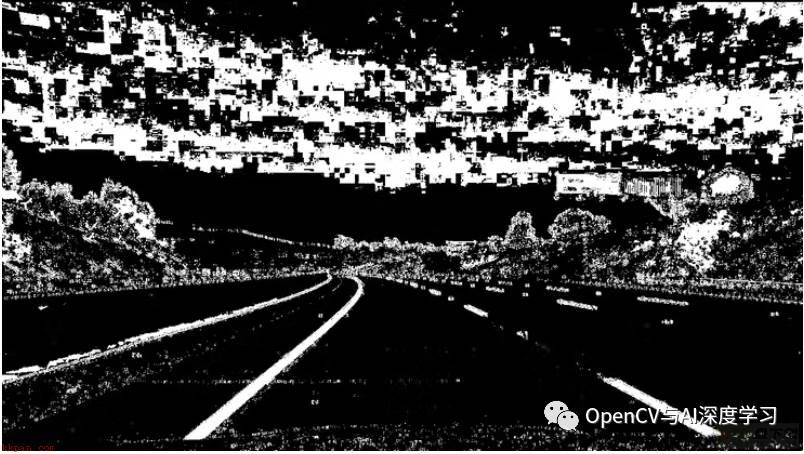
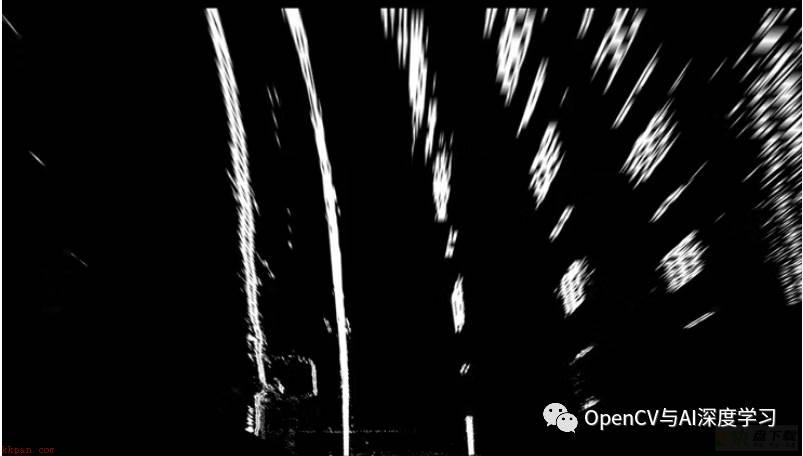
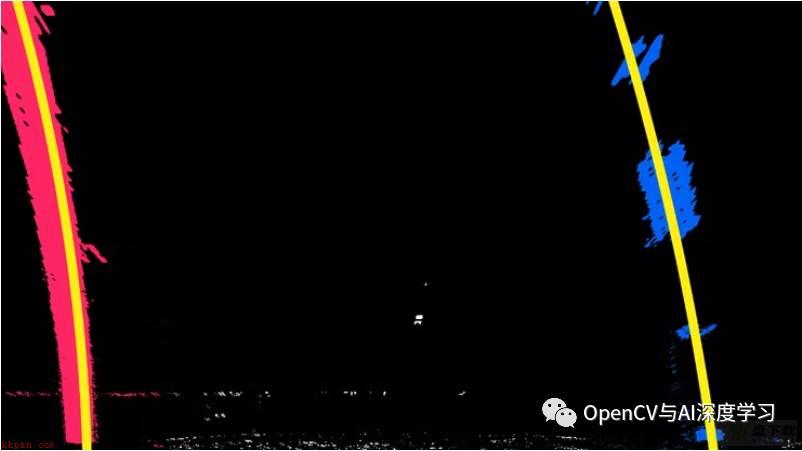
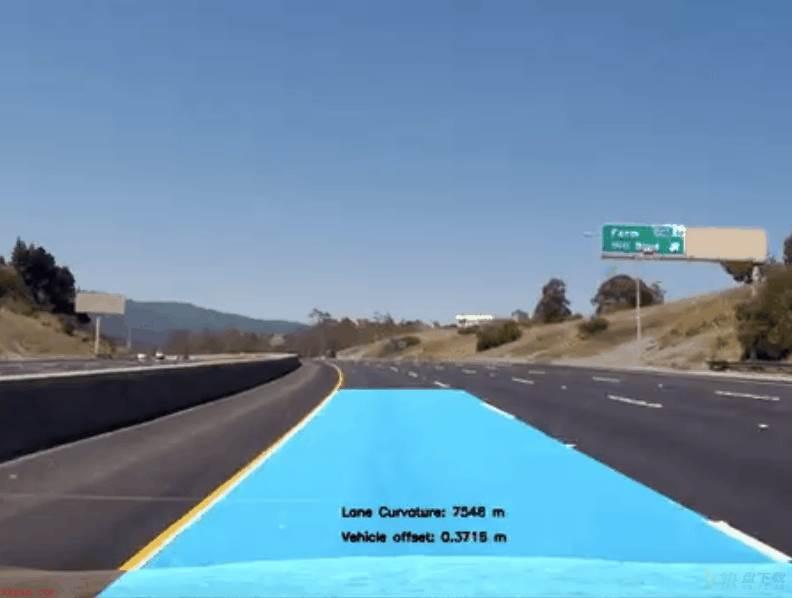
请注意,远离相机的图像部分不能很好地保持其质量。由于相机的分辨率限制,来自更远物体的数据非常模糊和嘈杂。我们不需要专注于整个图像,所以我们可以只使用它的一部分。这是我们将使用的图像的样子(ROI):
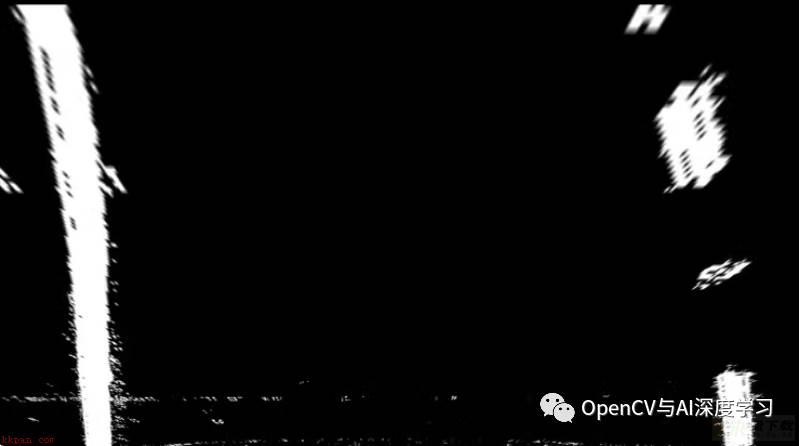
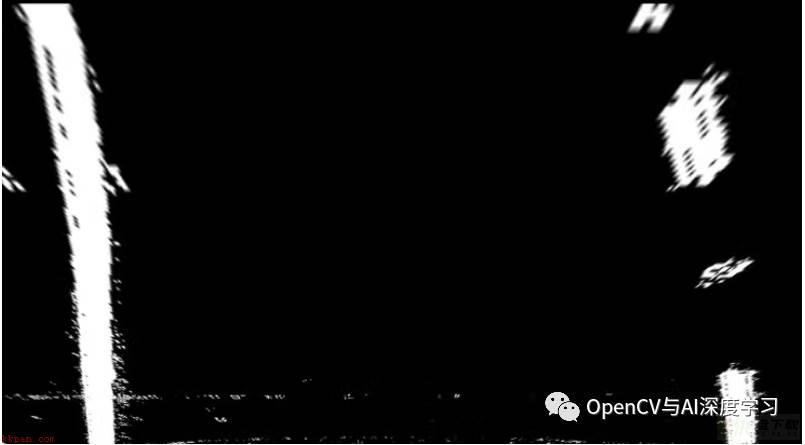
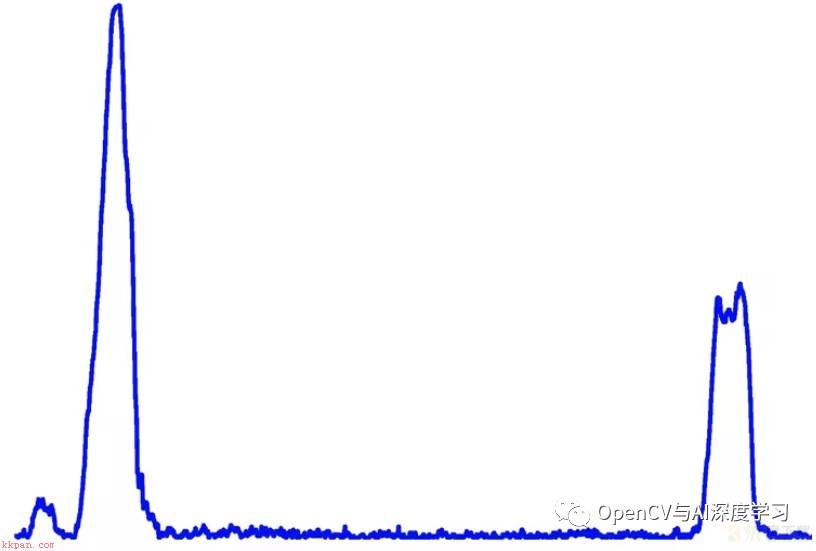
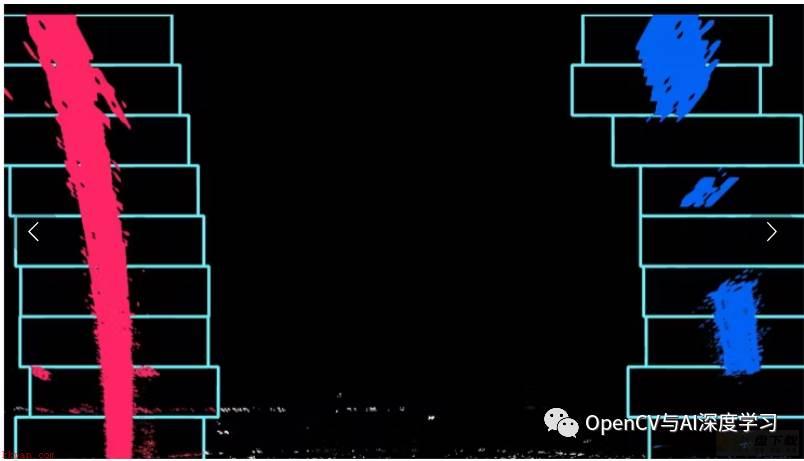
完整代码:
https://github.com/kemfic/Curved-Lane-Lines/blob/master/P4.ipynb
参考链接:
https://www.hackster.io/kemfic/curved-lane-detection-34f771
—THE END—