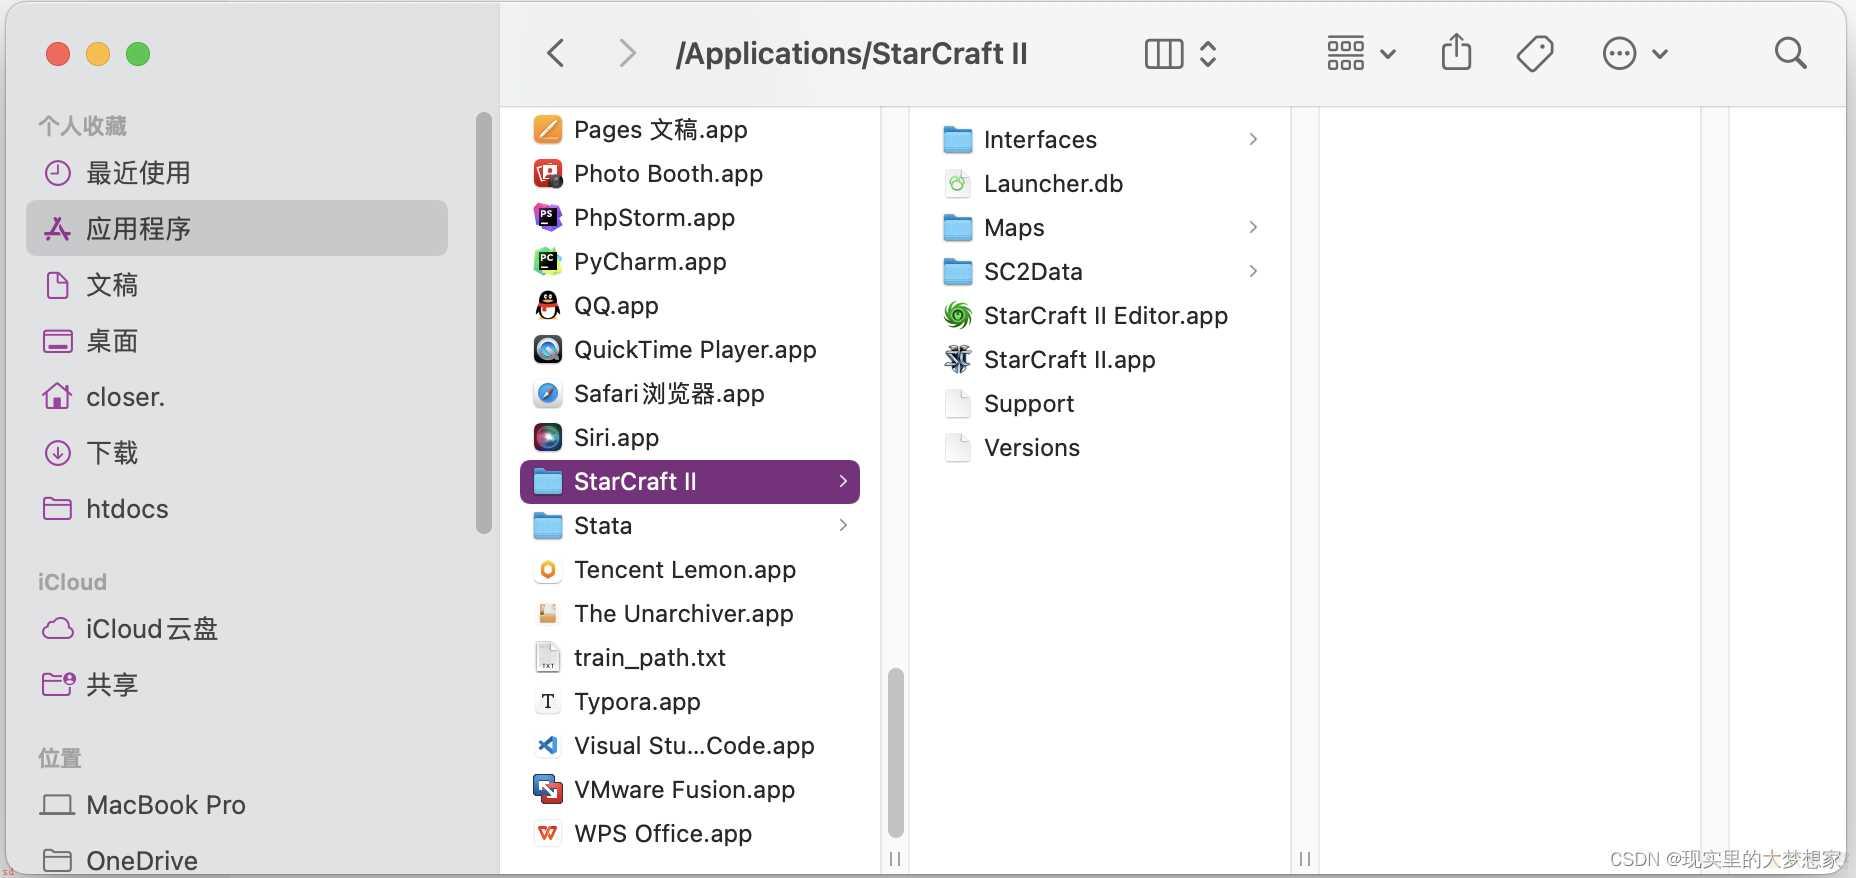
1.安装星际争霸游戏环境
Mac Python3.9 星际争霸_现实里的大梦想家的博客-CSDN博客
安装过后在访达中进行确认
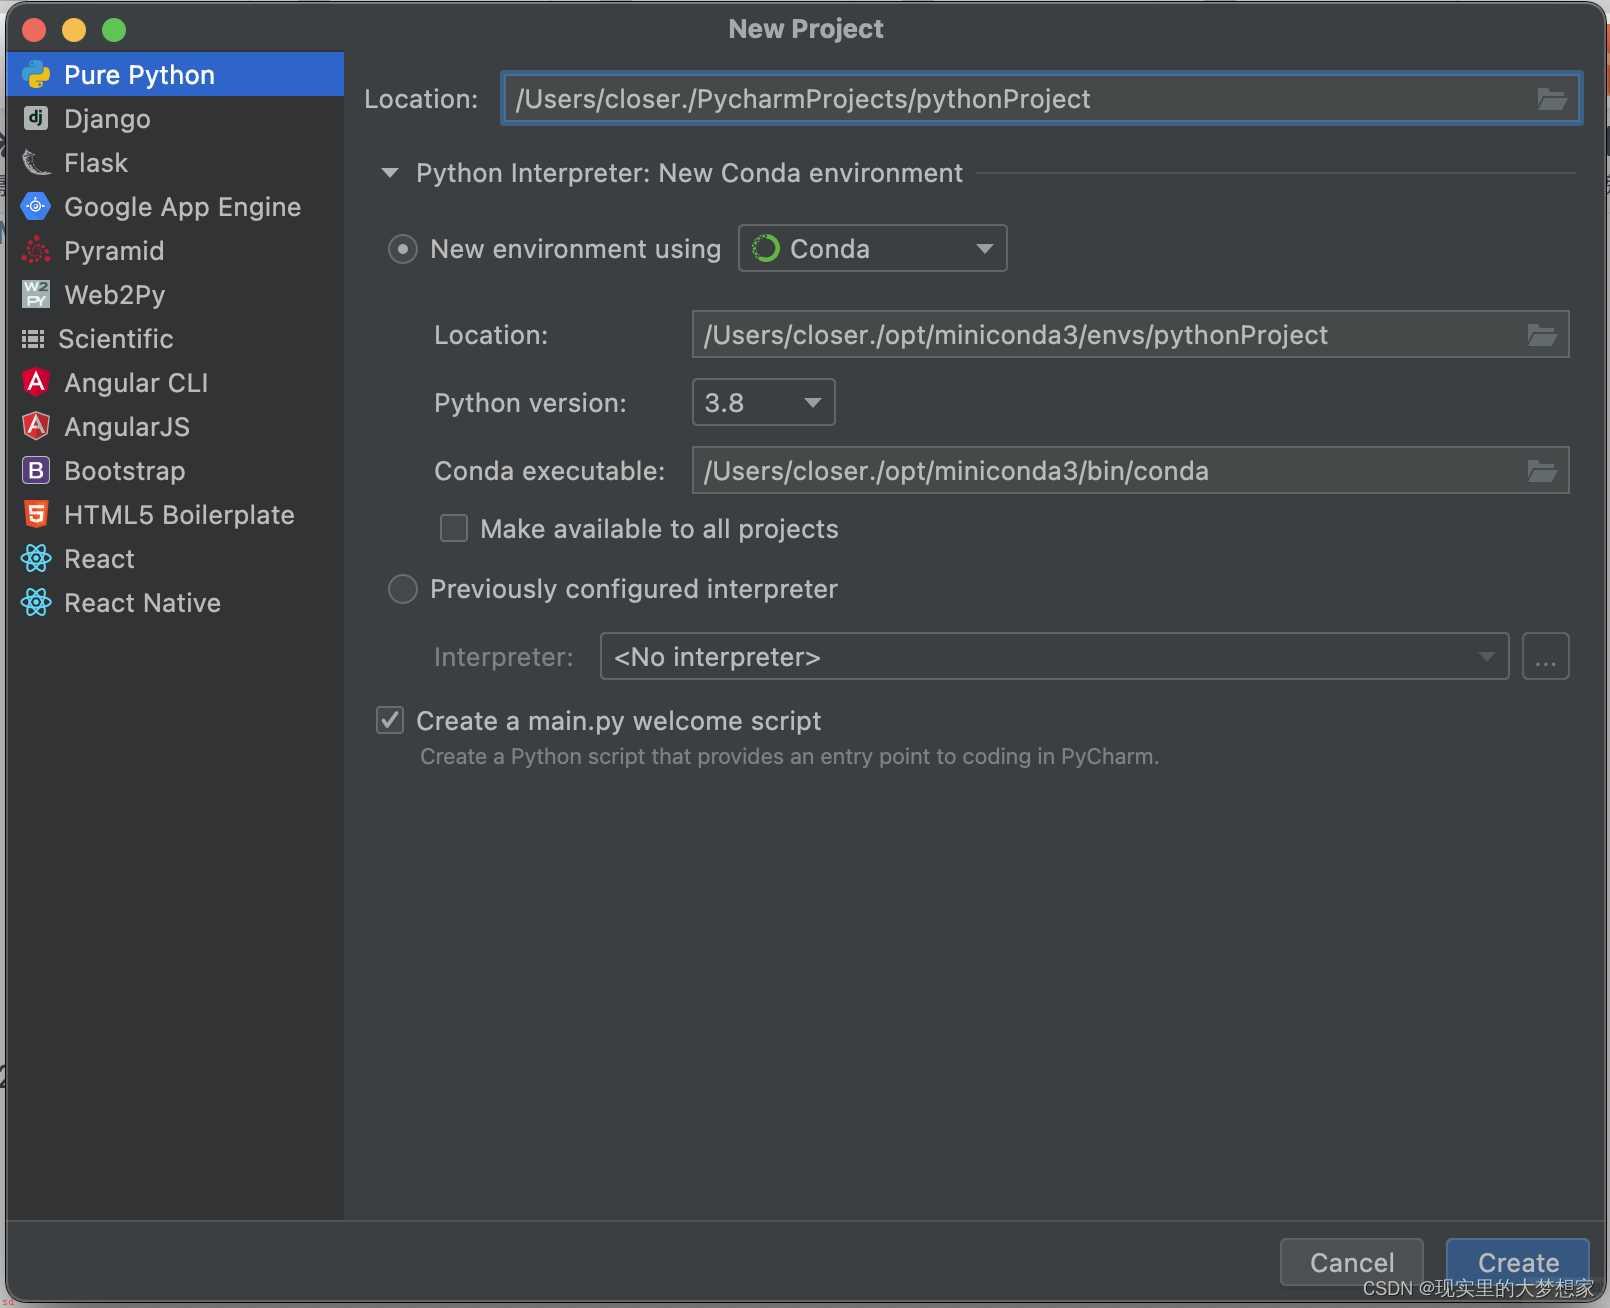
2.使用Pycharm创建新的3.8 python环境
3.安装Pytorch
Mac系统在Pycharm终端 安装Gym和Pytorch_现实里的大梦想家的博客-CSDN博客
至此可以再测试下pytorch是否安装好了;
python
import torch
4.下载及配置pymarl
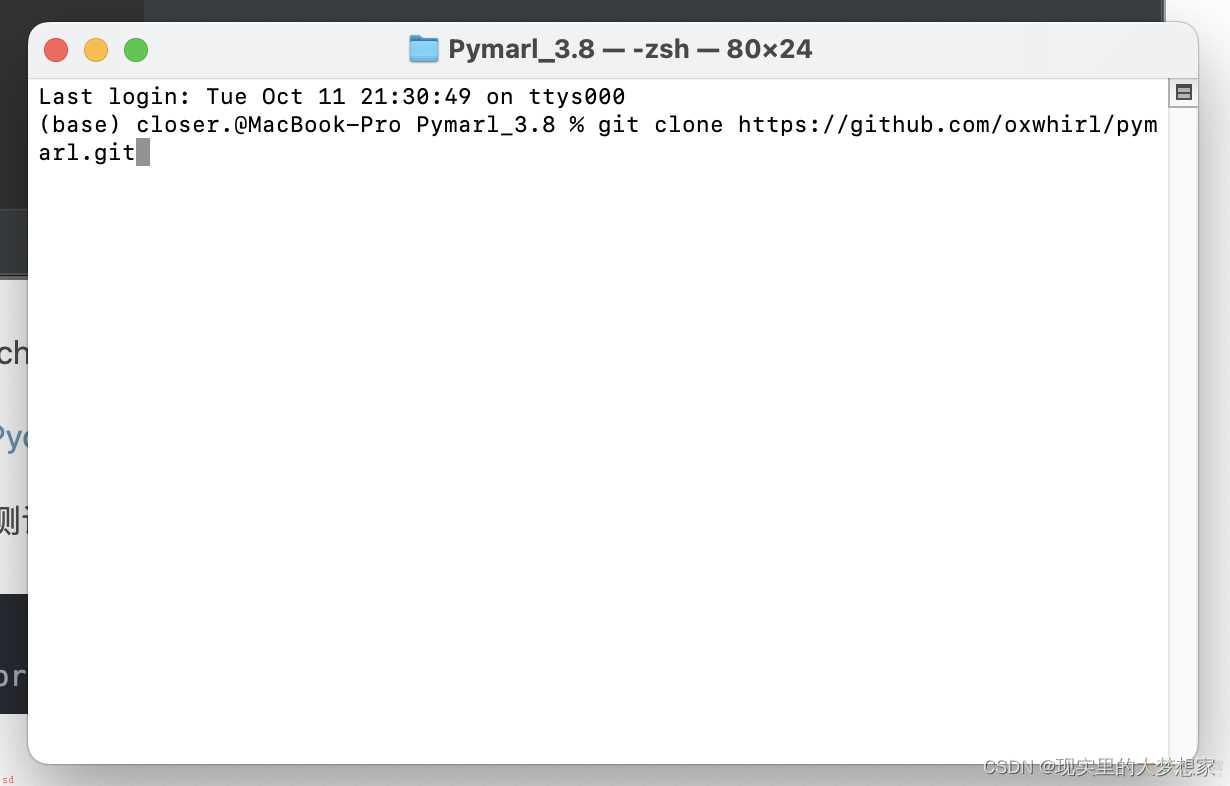
在Pycharm环境下用终端打开 输入命令
git clone https://github.com/oxwhirl/pymarl.git
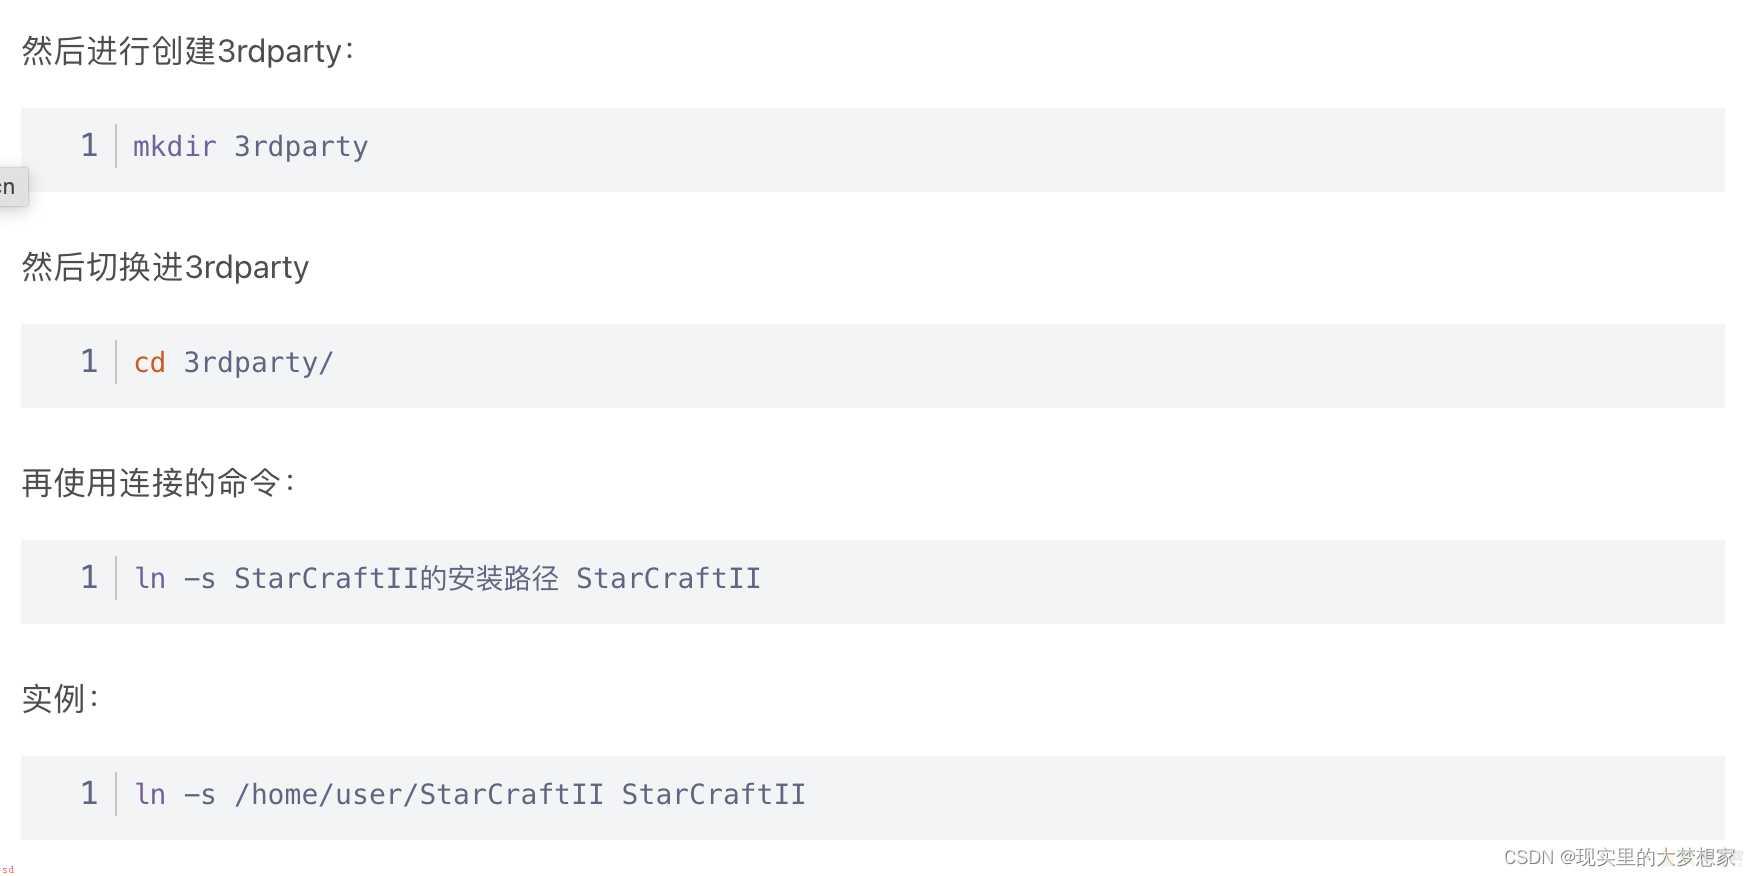
链接后目录为;
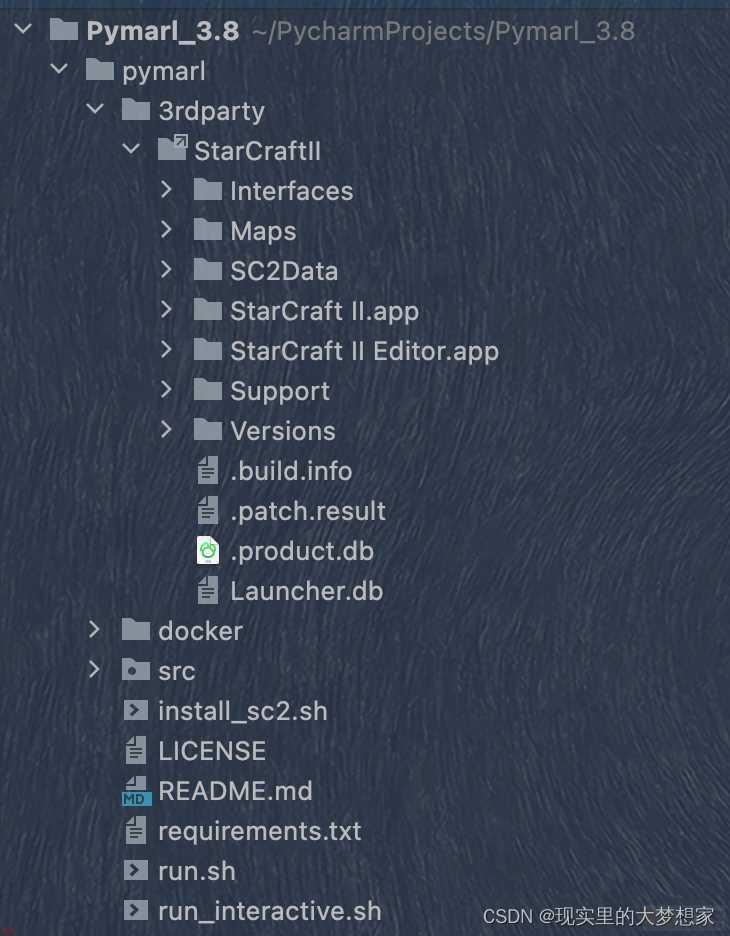
5.下载及配置smac
下面再就是安装SMAC了;smac的作用就是作为游戏的接口 同样在终端进行安装;
pip install git;https://github.com/oxwhirl/smac.git
若失败 可以参考这篇文章
SMAC安装的最好方法_nj_aqh的博客-CSDN博客_smac安装
或用这个命令
git clone https://github.com/oxwhirl/smac.git
pip install -e smac/
6.测试
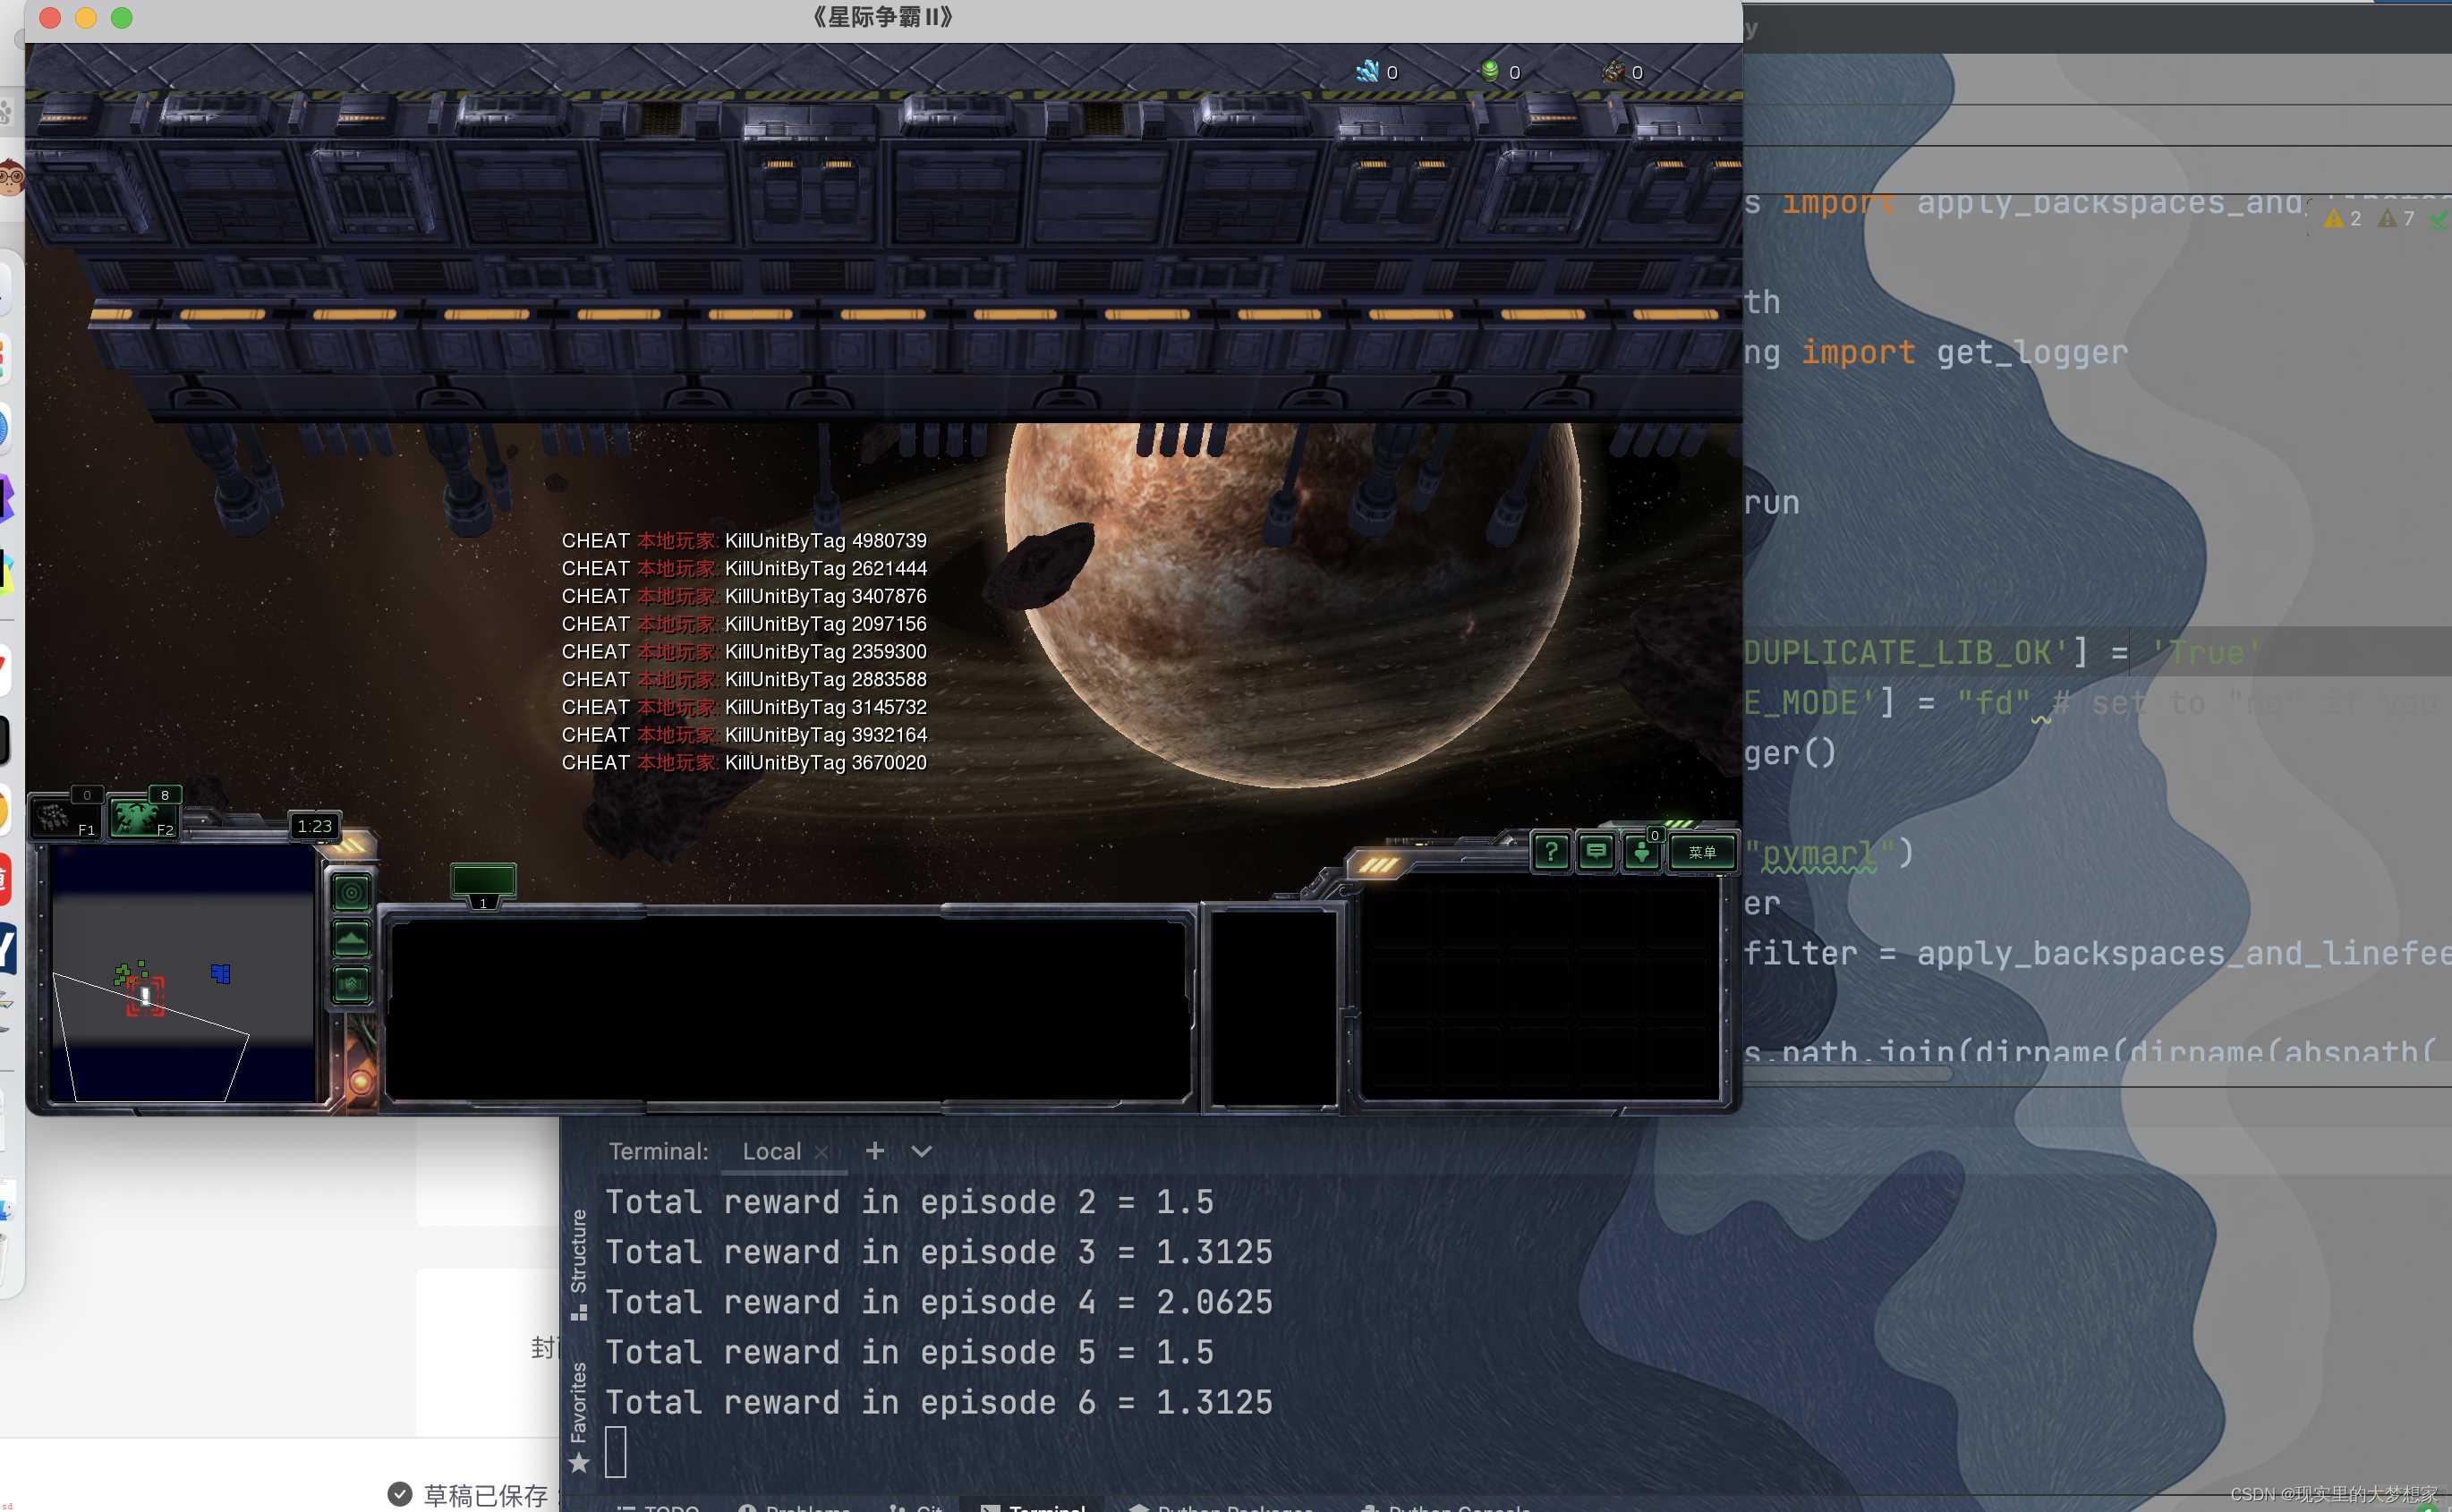
做完上述的smac配置步骤就可以进行测试smac环境了;
python -m smac.examples.random_agents
后续可参考
星际争霸pymarl的环境搭建;pymarl;smac;_zhoupingqi2017的博客-CSDN博客
7.测试pymarl的配置
先下载;
pip install sacred
pip install PyYAML==3.13
进入pymarl文件;在终端输入;
python src/main.py --config=qmix --env-config=sc2 with env_args.map_name=2s3z t_max=20000
运行后可能会有报错;
OMP: Error #15: Initializing libiomp5.dylib, but found libiomp5.dylib already initialized.
OMP: Hint This means that multiple copies of the OpenMP runtime have been linked into the program. That is dangerous, since it can degrade performance or cause incorrect results. The best thing to do is to ensure that only a single OpenMP runtime is linked into the process, e.g. by avoiding static linking of the OpenMP runtime in any library. As an unsafe, unsupported, undocumented workaround you can set the environment variable KMP_DUPLICATE_LIB_OK=TRUE to allow the program to continue to execute, but that may cause crashes or silently produce incorrect results. For more information, please see http://www.intel.com/software/products/support/.
它提示设置环境变量;因此可以在main的最开头所有import之前加入;
import os
os.environ[;KMP_DUPLICATE_LIB_OK;]=;TRUE;

PyCharm怎么背景颜色设置?-PyCharm背景颜色设置教程攻略

PyCharm怎么更改中文字体?-PyCharm更改中文字体教程攻略